iOS App Launch Checklist (2026): 21 Steps Before Submission
TL;DR
A useful iOS app prelaunch checklist has six phases: membership, a working release build, accurate metadata and privacy disclosures, honest screenshots, device testing, and a release plan. The 21 checks below separate Apple's documented requirements from recommendations. If time is short, verify that the build runs, the reviewer can access gated features, privacy answers match the app and its SDKs, and the screenshots show real functionality.
Use this as an iOS app release checklist, not a substitute for the fields in your own account. Review the App Store metadata and current iOS app submission requirements before you set an iOS app launch day.
Last updated: 2026-09-23.
What real indie devs are saying
Indie iOS developers ask this question on Reddit roughly once a week. From r/iOSProgramming, one solo dev wrote: "I am trying to find if there is a checklist of something I should make sure I have done before submitting an app to the app store." On r/iOSAppsMarketing, another asked for "tips/advice/checklist for things I should make sure I do prior to launching my app on the App Store."
The most useful answer we found came from a developer on r/iOSProgramming who wrote: "After 9 Apple rejections across 5 apps, here's my pre-flight checklist." That phrase, pre-flight checklist, is the right framing. Treat your first submission like a pilot would treat an aircraft. Quick verification, every line, before you push the throttle.
Use this as a working release checklist, not as a claim that we submitted these developers' apps. The Reddit accounts illustrate concerns, while Apple's current documentation governs the actual submission steps.
Phase 1. Apple Developer Program
Step 1. Enroll in the Apple Developer Program
You need an active Apple Developer Program membership to distribute through the App Store. Apple lists a US annual fee of $99, with local prices and possible eligibility differences by region or organization. Organizations may need identity and legal-entity verification. Start enrollment well before your planned release; Apple does not guarantee a universal 24- to 48-hour approval window.
Step 2. Set up your Apple Developer account
After approval, complete the account details and any agreements, tax and banking information relevant to your monetization. A free app with no paid content has a different setup from an app selling subscriptions or in-app purchases. Check the current App Store Connect workflow instead of assuming every field applies to your account.
Step 3. Assign team roles in App Store Connect
Invite collaborators with the least access needed for their work. Check the current role permissions before granting Admin or App Manager access. A contractor who only reviews creative assets may not need access to builds or financial information.
Phase 2. Build readiness and code signing
Step 4. Configure signing certificates and provisioning profiles
In Xcode, check Signing and Capabilities for the Release build. Confirm the team, bundle ID and entitlements. Automatic signing is a simple starting point. Teams using manual signing or fastlane should test the archive on the machine that will upload it. A signing error blocks upload, but we cannot rank it as the most common failure.
Step 5. Archive a release build, not a debug build
Archive the release configuration in Xcode and verify the app identifier, version, build number and capabilities before upload. Run the archived build on a supported physical device as well as in Simulator. A new upload for the same version needs a distinct build number; confirm the values in Organizer and App Store Connect.
Step 6. Static analysis, unit tests, and crash testing
Run automated tests and the main flows on actual devices. Check a fresh install, sign-up, purchase or entitlement restoration, permissions, offline behavior, and any account deletion flow your app offers. If you use crash reporting, confirm it works in a test build without exposing personal data. A fixed five-minute profiling session is not an Apple requirement; investigate slow or unstable flows for as long as they need.
Step 7. Upload the build via Xcode or Transporter
Use Xcode Organizer or Transporter to upload the build, then wait for processing and inspect any reported issues in App Store Connect. Processing time varies; do not plan a launch around a promised five- to 30-minute window. Apple's workflow guide covers the app record and upload sequence.
Phase 3. App Store Connect metadata
Metadata is both a discoverability and accuracy task. Check what the listing says against the build, supported locales, subscription terms and privacy disclosures. Apple may show screenshots in search, but placement depends on device, orientation and preview availability.
Step 8. Name, subtitle, promotional text
Apple's app information reference limits the app name and subtitle to 30 characters each. Use clear, truthful language that distinguishes the product. A made-up A/B winner is not evidence; if you have an eligible live app, test creative changes through Product Page Optimization. Check the current character limit and editability of promotional text in App Store Connect before using it for an update.
Step 9. App Store keywords field
Apple provides a keyword field with a character limit shown in App Store Connect. Use relevant terms that describe real functionality, avoid duplicates and misleading competitor names, and preview the localized metadata. Do not rely on an absolute "no plurals" rule: language and search behavior vary. Our ASO keyword research guide covers the planning step.
Step 10. Privacy nutrition label and ATT prompt
Review App Privacy against what your app and integrated SDKs actually collect. Check the data type, whether it is linked to a user, and whether it is used for tracking; the answer depends on implementation, not simply an SDK brand. If your app tracks users as Apple defines tracking, follow the current App Tracking Transparency rules and provide the required purpose string. Avoid asserting an unverified rejection frequency.
Step 11. Age rating, content descriptors, export compliance
Answer the current age-rating questionnaire for the features and content actually in your build. Review export-compliance questions for the cryptography you use and your distribution regions. Do not assume that HTTPS makes the answers a universal one-checkbox exercise; if uncertain, use Apple's export-compliance guidance or qualified advice.
Step 12. Support URL, marketing URL, and copyright
Apple's review guidance requires working user-support contact information and a privacy-policy link. Open both URLs on a phone while signed out. A marketing URL is a separate field; add one when it helps users. Do not use a placeholder support page that cannot actually help someone with the app.
Before creative production, use the App Store listing optimization checklist to check metadata, compliance, localization and measurement alongside the images.
Phase 4. Screenshots and app preview
Step 13. Export accepted screenshots for each supported device
Apple accepts one to ten screenshots per device well and localization, as JPEG or PNG without transparency. Its 6.9-inch iPhone group accepts several exact pixel pairs, including 1290 by 2796, and can supply scaled images for some smaller groups. If your app runs on iPad, prepare the separate required iPad set. Check the first frames at search-result size, but do not upload extra images merely to hit an unsupported "top apps use six to eight" rule.
Open each final image on a phone. Can you read its main message? Does the app screen match the build? Is the language right for the locale? Does a modal hide the key action? Look for private names, test data and stale prices. Check both portrait and landscape if your app uses both. Export the final file, then check its size again. A design tool can change the file after your first check. Keep the raw captures too. They make it easier to fix a bad caption without taking every screen again.
If you do not want to spend a weekend in Figma, ScreenFast starts with a free audit and generates 10 design directions after the $9.99 one-time checkout. Prelaunch developers can upload their own raw screenshots to ScreenFast and use the same audit-to-generation workflow without a live listing.
Step 14. A/B test variant copy if you have prior data
For an eligible live iOS or iPadOS app, Product Page Optimization supports up to three alternate treatments for screenshots, app previews or icons. A brand-new listing needs a useful control first. There is no universal 30-day wait that makes a test statistically sound; sample size and traffic quality matter. See our screenshot A/B testing guide when you have a specific decision to test.
Step 15. Optional 30-second app preview video
An app preview is optional. Apple accepts 15- to 30-second previews, with export requirements that depend on the device well and orientation. A generic 1080-by-1920 preset is not a universal upload rule, and video does not guarantee a conversion lift. If motion explains your app better than a still, use our app preview production guide and check the current Apple specification.
Phase 5. TestFlight beta testing
TestFlight lets people test a build on their own devices and send feedback. It is a quality gate, not a guaranteed way to gather a fixed number of launch users.
Step 16. Add internal testers (up to 100)
Apple allows up to 100 internal testers who have eligible App Store Connect access. Use this group for your team and trusted testers, then verify installation, purchase flows and crash reporting. TestFlight builds are available for up to 90 days under Apple's current overview.
Step 17. Invite external testers via public link
Apple permits up to 10,000 external testers per app, invited by email or public link. The first build of a group is sent for Beta App Review; later builds may not require a full review. The timing is variable, so invite testers before your planned launch date. Testers can send feedback through TestFlight, including screenshots where supported.
Step 18. Run a goal-based TestFlight cycle
There is no Apple-mandated seven-day TestFlight minimum. Run a beta long enough to exercise every critical flow on representative devices and network conditions. Define the exit criteria up front: no unresolved launch-blocking crash, a working first-run path, restored purchases where relevant, correct privacy behavior, and a reviewer account that reaches gated features. A calendar duration alone does not prove readiness.
| TestFlight option | Cap | Beta review | Use case |
|---|---|---|---|
| Internal testers | 100 | No | Team and power-users |
| External testers, email invite | 10,000 | Yes, first build | Friends, family, waitlist |
| External testers, public link | 10,000 | Yes, first build | Open beta, Reddit waitlists |
Phase 6. Submission day
Step 19. Run a pre-submission rejection check
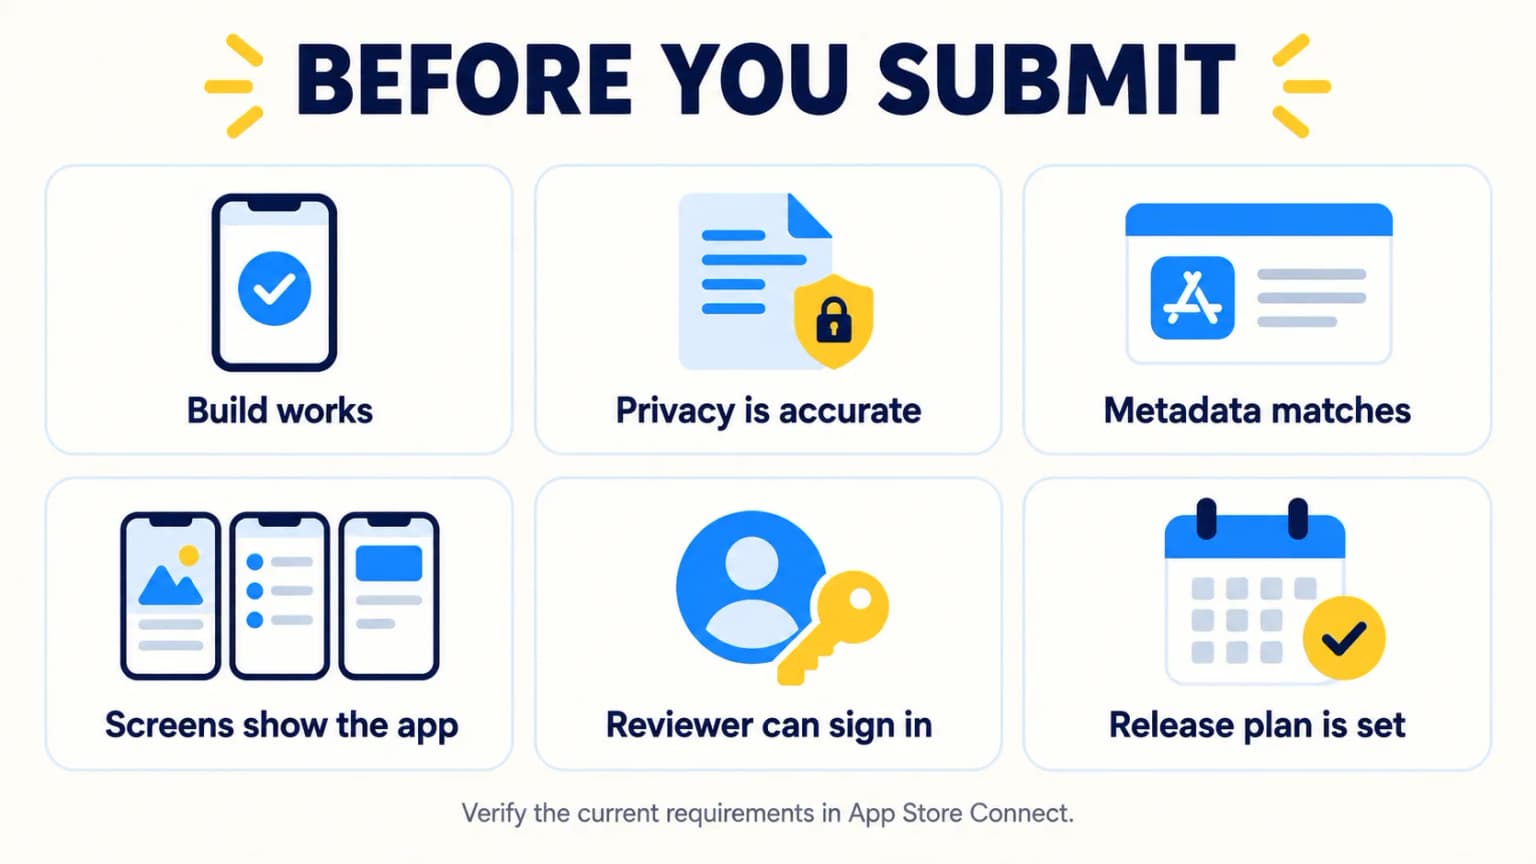
Before submission, check four risk areas: whether privacy answers match the build, whether sign-in options follow the current review rules, whether paid products have complete metadata, and whether the reviewer can access every gated feature. These are practical checks, not a verified ranking of the most common rejection reasons. Open each relevant App Store Connect section and test the account from a fresh device.
Step 20. Pick your release strategy
Apple documents three version-release options: manual, automatic after approval, and automatic no earlier than a chosen date. The date is a floor, not a promise that approval will arrive by that hour. Phased release is a separate option for eligible app updates, not the initial launch.
Step 21. Submit for App Review and monitor the queue
Apple's submission flow has two distinct actions: Add for Review, then Submit for Review. Confirm the selected build and items before the second step. Review timing varies; watch the status in App Store Connect and answer any request for information promptly, without relying on a claimed 24-hour median.
Common app store rejection reasons in 2026
The table is a preflight risk map based on Apple's current App Review guidance, not a ranking of rejection frequency. Check the exact guideline cited in any review message before making a change.
| Rejection guideline | Why it triggers | Fix |
|---|---|---|
| 2.1 Information Needed | Reviewer cannot log in to test | Provide a demo account in App Review notes, confirm it works one last time |
| 2.3.10 Accurate Metadata | Screenshots show features the app does not have | Match every screenshot caption to an actual screen in the app |
| 4.3 Spam | App is substantially duplicative or otherwise falls under Apple's spam guidance | Review the product and the exact guideline; a new caption alone will not fix a duplicative app |
| 5.1.1 Data Collection | Privacy nutrition label is incomplete | List every analytics, ad, and crash SDK you ship |
| 4.8 Login Services | Third-party or social login lacks an equivalent privacy-preserving option where the rule applies | Check Apple's current exceptions and offer an eligible equivalent login option |
A final pass on a fresh device
Install the candidate build from TestFlight on a device outside your dev setup. Create an account. Open each feature shown in the first screenshots. Restore a purchase if the app sells one. Test a broken network connection. Open the support and privacy links while signed out. Then sign in with the reviewer account and repeat the gated path. Write short App Review notes that explain any special setup. Keep a record of the build number and the screenshots you submitted. This pass tests the actual release path. It is more useful than counting days in beta.
If review asks for more information
Read the exact message in App Store Connect. Find the cited rule. Reproduce the issue on the same build if you can. Do not guess which asset failed. If the reviewer needs access, test the demo login first. Then send the account, steps and any needed test data in the review channel. If a screen is inaccurate, fix the app or the image. Keep the answer calm and specific. State what changed and where to find it. If you disagree, give a clear path through the app and link the relevant rule. Keep a copy of the exchange for your next release. A rejection is not proof that every part of the app must be rebuilt.
A small launch-day runbook
Check the final status before telling users the app is live. Open the public page in the regions you serve. Install from the store on a clean device. Test sign-up, the first useful action and any paid path. Confirm that support mail works. Watch crash reports and incoming reviews. Keep one person ready to reply to urgent user issues. If you chose manual release, remember that approval alone does not publish the app. If you chose a date floor, approval can arrive after it. Tell your launch partners what status you see, not what you hoped to see. Save the final listing assets and build number so you can trace a later problem.
How we tested
We checked Apple's App Store Connect workflow, screenshot specification, TestFlight overview, App Review guidance, and submission instructions on 2026-09-23. The Reddit examples describe individual concerns, not measured rejection rates. We did not submit an app as part of this revision, so the checklist should be verified against the current fields in your own App Store Connect account.
We disclose that ScreenFast is our own product. It can design static screenshots from a live app link or supplied images, but it does not prepare the app binary or handle submission. Our pricing page describes the current pay-per-pack offer. We have no affiliate links in this post.
Frequently asked questions
How long does App Store Review take in 2026?
Apple does not promise a fixed review time for an individual submission. Budget for processing, possible requests for information and a resubmission. Do not announce a hard launch hour before approval if your plan depends on App Review.
Do I need an LLC to publish on the App Store?
No. Apple permits individual and organization enrollment. An individual normally appears under a personal seller name; an organization has different identity checks. Whether to form a company is a legal and tax decision, not something a universal monthly-revenue threshold can decide.
What does the $99 Apple Developer Program get you?
Membership supports App Store distribution and TestFlight, along with developer resources described on Apple's program page. Apple lists $99 per year in the US; check the price and eligibility for your country before paying.
What is the most common App Store rejection reason for first apps?
We cannot rank rejection reasons from these sources. A common preventable problem is a gated app without working reviewer access. Apple's review guidance asks for a valid demo account and instructions when sign-in is required.
How many beta testers can I add to TestFlight?
Up to 100 internal testers (anyone on your App Store Connect team) and up to 10,000 external testers per app. External testers can join by email invite or via a public TestFlight link. Internal testers do not need Beta App Review. External testers need Beta App Review on the first build only.
What size should my App Store screenshots be in 2026?
Apple accepts multiple exact dimensions for the 6.9-inch iPhone group; 1290 by 2796 is one option. A larger accepted iPhone set can supply scaled assets for several smaller groups, while an iPad app needs its own accepted iPad set. Check Apple's live table and our size guide.
How do I deploy iOS app updates after launch?
Bump the version number in Xcode, archive a new release build, upload via Organizer or Transporter, fill in the What's New text in App Store Connect, and submit. Update-only metadata changes (promotional text) do not require a new build. This is the standard flow for how to deploy iOS app updates without resubmitting the binary.
Can I publish to the App Store for free?
An active Apple Developer Program membership is normally required to distribute a public App Store app, even when the app itself is free. Apple lists a US annual fee of $99 and describes some fee waivers for eligible organizations. Check the current enrollment terms for your region.
Bottom line
These 21 steps are a way to catch launch blockers, not a required two-week calendar. Verify the build, privacy disclosures and reviewer access first. Capture genuine screenshots in accepted sizes, test on real devices, and choose a release mode that fits your ability to respond to App Review. Submit when those checks pass, not because it is a particular weekday.
When you reach phase 4, save the design step. ScreenFast audits a live listing for free and generates 10 design directions after the $9.99 checkout, or accepts raw uploads through the same workflow for prelaunch projects. Then come back to step 14 once you have real install data, and read our App Store screenshot A/B testing guide to ship your first PPO experiment.
Related reading: If you are evaluating a specific tool for the screenshot step, we have a single-product review of the free option most indie devs land on first: Hotpot.ai App Screenshot Generator Review (2026).