How to Take App Store Screenshots in the iOS Simulator (2026)
TL;DR. Boot the iPhone 16 or 17 Pro Max simulator and press Cmd+S to save a pixel-perfect PNG to your Desktop. Before you shoot, run xcrun simctl status_bar booted override to lock the status bar to 9:41 with full battery and Wi-Fi. Capture at the 6.9-inch master (1320x2868 or 1290x2796), because App Store Connect auto-scales that one set down to every smaller iPhone. The Simulator gives you exact App Store dimensions with no physical device.
Last updated: 2026-07-02.
Disclosure. We make ScreenFast, an AI App Store screenshot generator. It does not capture screens from the Simulator (this article shows you how to do that yourself); it only fits the later framing step, and we say so plainly. Every Apple-related claim is verifiable in Xcode or on developer.apple.com.
The short answer: Cmd+S at the 6.9-inch master
Run your app on the iPhone 16 Pro Max or iPhone 17 Pro Max simulator (any 6.9-inch device). Press Cmd+S. You now have a PNG on your Desktop at the exact pixel size App Store Connect wants. Do that for each screen you want to feature, clean up the status bar first, and you have a raw screenshot set in minutes without owning the device.
Everything below is the detail that makes those screenshots actually pass review and look professional.
The exact Simulator capture workflow
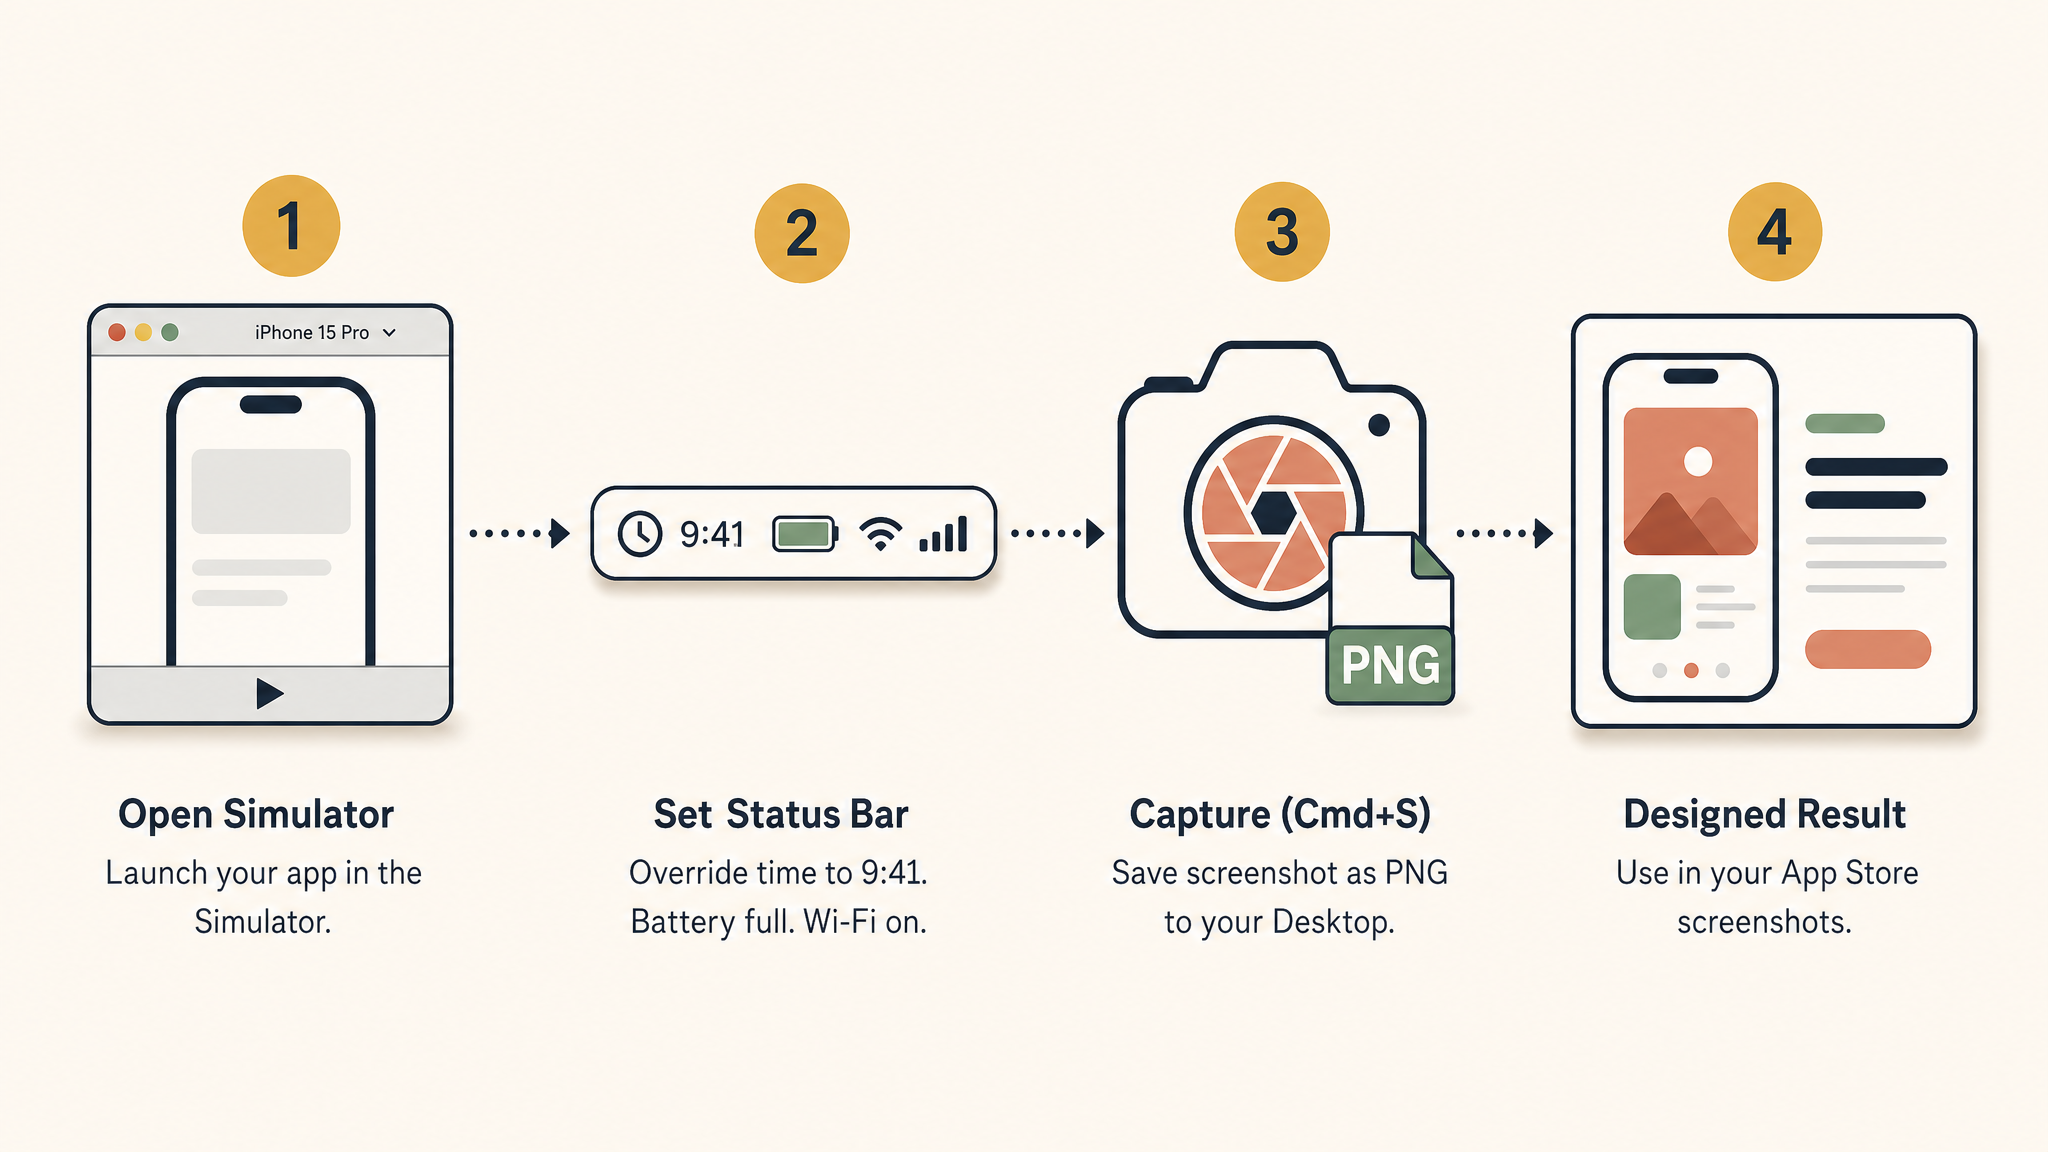
- Boot the right simulator. In Xcode, pick a 6.9-inch device (iPhone 16/17 Pro Max) as the run destination and launch your app. The Simulator renders at the device's native resolution, so the capture is pixel-perfect.
- Navigate to the screen you want. Get the app into a populated, active state: a filled dashboard, a completed result, real-looking content. Avoid empty states, loaders, and the launch screen.
- Capture with Cmd+S. In the Simulator, choose
File > Save Screenor press Cmd+S. The PNG saves to your Desktop by default at full native resolution. - Capture headlessly when scripting. For automation or CI, use the command line instead:
xcrun simctl io booted screenshot ~/Desktop/screen-01.png
booted targets the currently running simulator. This is the same capture, scriptable.
- Shoot 10 to 15 raw options. Apple allows up to 10 screenshots per device per localization. Capturing a few extra gives you options when you pick the final 5 to 8.
Clean the status bar: the 9:41 override
This is the step that separates amateur screenshots from professional ones, and most beginner guides skip it. By default your Simulator status bar shows a random time, a half-full battery, and a carrier name. Apple's demo standard is 9:41, full battery, full signal, no carrier.
Set it with one command before you capture (introduced in Xcode 11 / iOS 13):
xcrun simctl status_bar booted override \
  --time "9:41" \
  --dataNetwork "wifi" --wifiMode active --wifiBars 3 \
  --operatorName "" \
  --batteryState charged --batteryLevel 100
To reset the status bar back to normal:
xcrun simctl status_bar booted clear
One critical caveat: this changes only the visual status bar. It does not change the system time your code reads from Date(), so any in-app clock your UI draws itself still needs handling separately. The 9:41 convention comes from Apple's own marketing, and using it makes your screenshots look native to the platform.
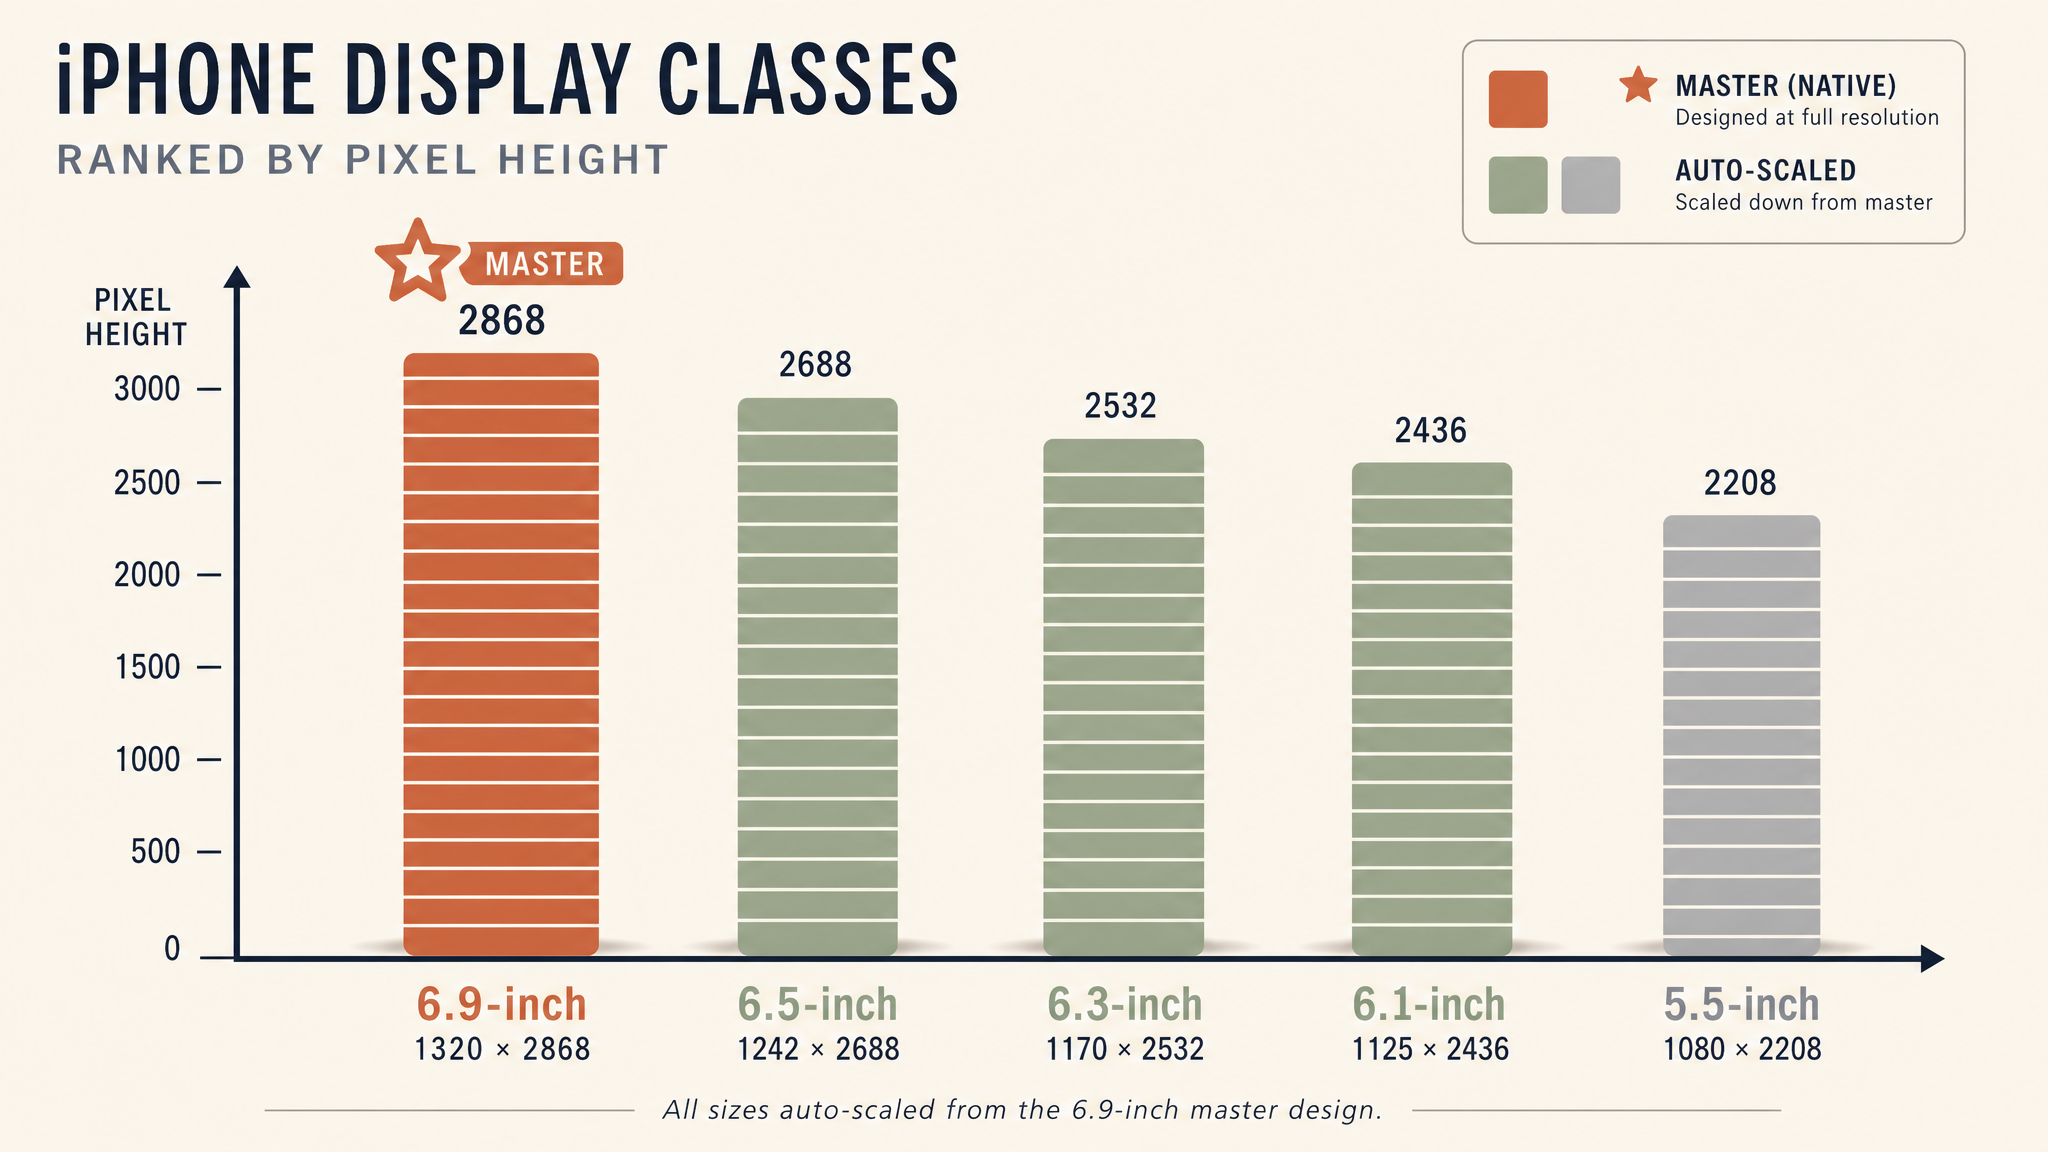
Which size to capture: the 6.9-inch master
In 2026 the 6.9-inch iPhone is the single required submission slot. Capture that one set and App Store Connect scales it down to every smaller iPhone automatically.
| Display class | Example simulator | Portrait pixels | Notes |
|---|---|---|---|
| 6.9-inch (master, required) | iPhone 17 / 16 / 15 Pro Max, iPhone Air | 1320x2868, 1290x2796, or 1260x2736 | Capture here; auto-scales down |
| 6.5-inch | iPhone 11 Pro Max / XS Max | 1284x2778 or 1242x2688 | Optional; auto-filled |
| 6.1-inch | iPhone 14 / 15 / 16 | 1170x2532 | Optional; auto-filled |
| 5.5-inch (legacy) | iPhone 8 Plus | 1242x2208 | Legacy 16:9; rarely needed |
| 13-inch iPad (required if iPad app) | iPad Pro 13-inch | 2064x2752 or 2048x2732 | Separate requirement |
Capture at the largest native size you can (1320x2868 on a 16/17 Pro Max), because scaling down stays sharp while scaling up blurs on the Pro Max. Confirm current requirements on Apple's screenshot specifications page, since the tiers shift between iOS versions; the standalone App Store screenshot sizes guide tracks them in depth. Format rules: PNG or JPG, no transparency, under 10MB each.
For a video walkthrough of the basic capture, Take a Screenshot of the Xcode Simulator Running Your App shows the Cmd+S step on screen.
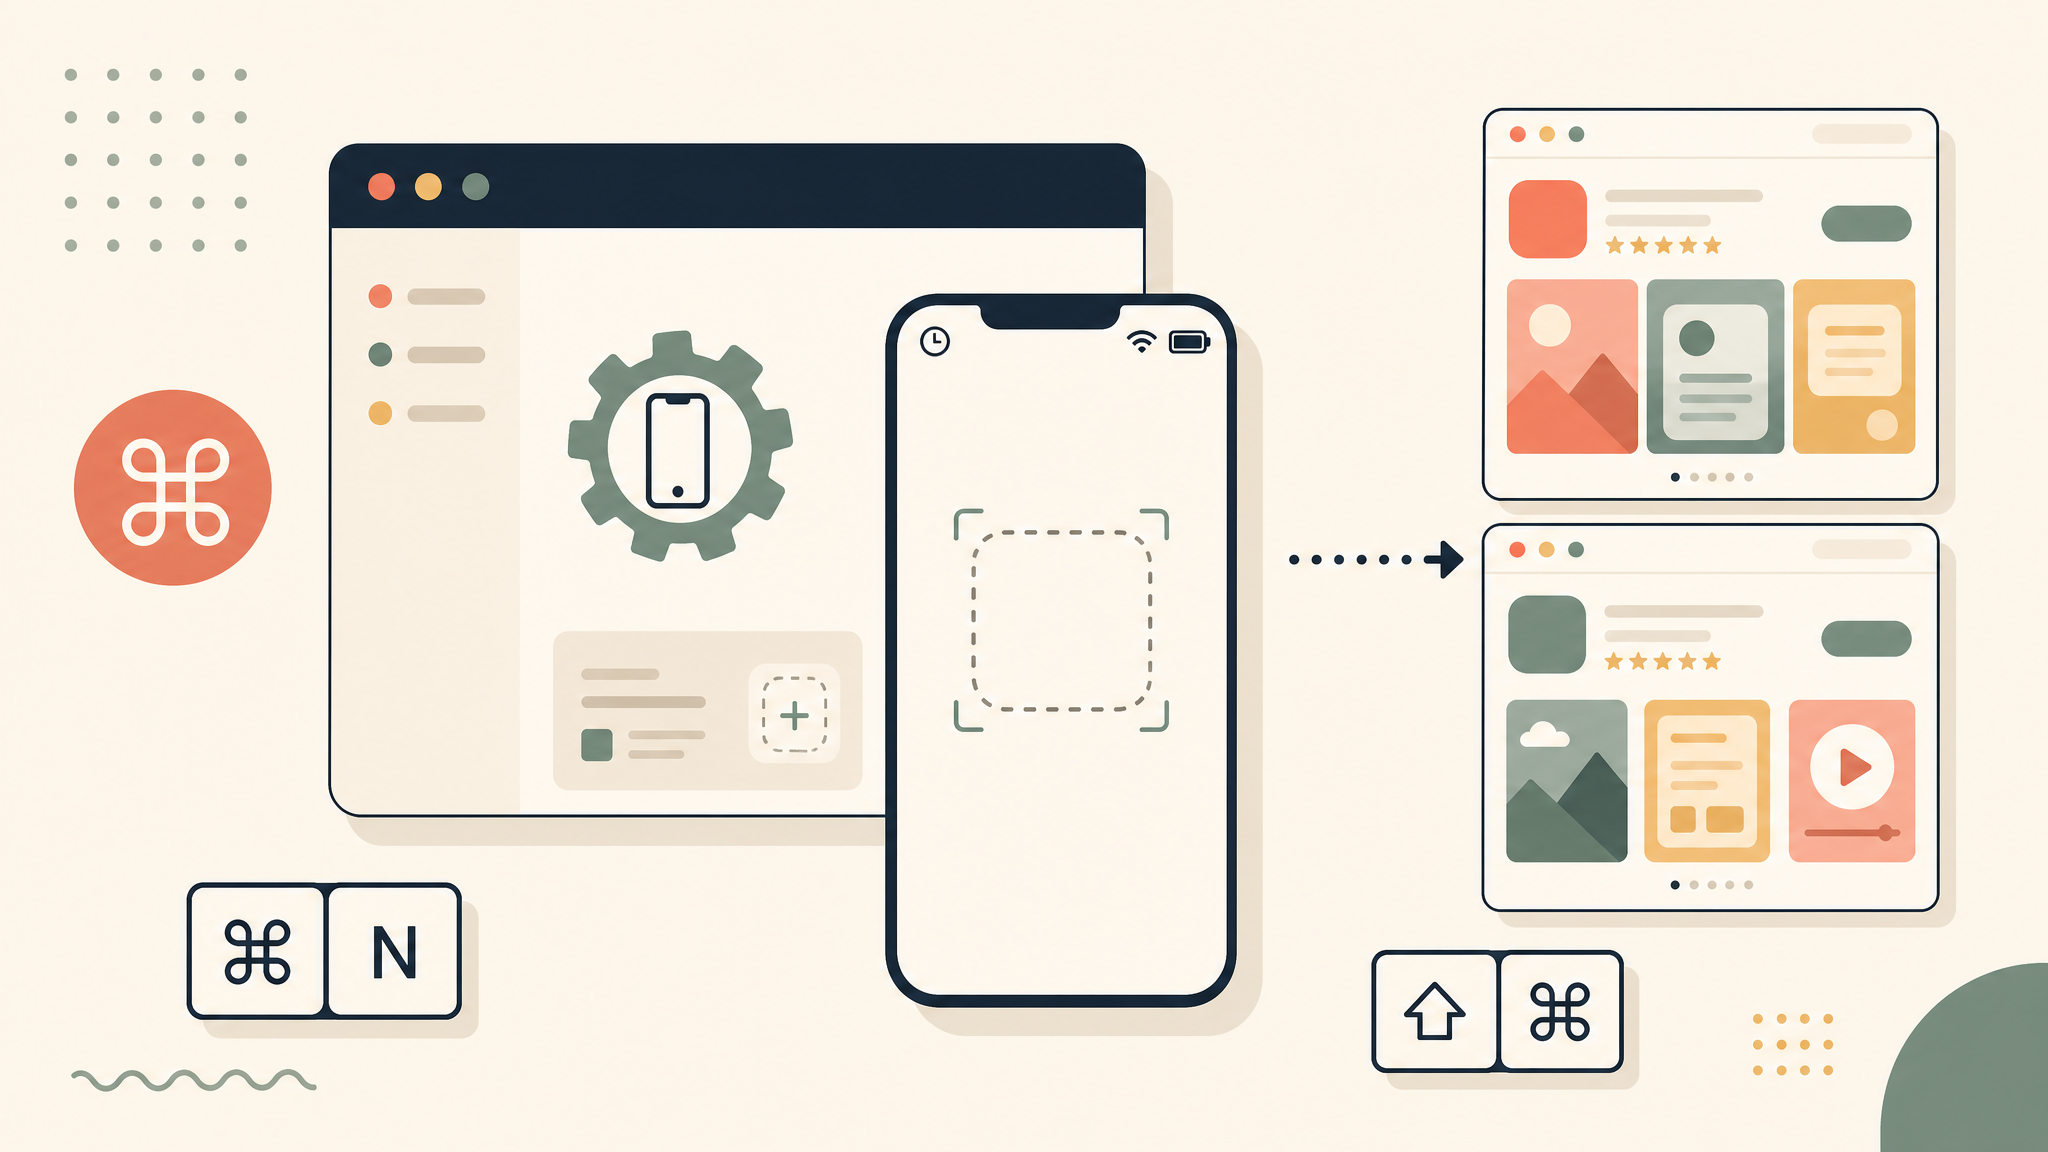
From raw screen to store-ready tile
A raw simulator capture is not a finished App Store screenshot. It is a bare UI frame with no headline, no device frame, and no design. The store screenshots that convert add a benefit caption, a clean background, and usually a device frame.
You have three honest paths from raw screen to finished tile:
- By hand in Figma. Full control, a few hours per set. The Figma template guide covers the exact setup and the export gotchas (alpha channel, sub-pixel sizing) that get screenshots rejected.
- With a generator. Disclosure, because this is where our tool fits: ScreenFast takes your raw simulator screenshots (prelaunch upload) or your App Store URL and produces 10 finished design variants in under two minutes for $9.99. It does not capture from the Simulator, which is the part this article taught you to do yourself; it only handles the framing and caption layout afterward. See the AI App Store screenshot generator.
- Pure simulator output. Acceptable for a quick MVP submission, but plain UI shots convert worse than benefit-led designs.
Write the captions yourself, lead with a benefit, and keep the headline short.
Automating it: fastlane snapshot and shell scripts
If you ship often or localize, capturing by hand every release gets old. Two automation routes.
fastlane snapshot drives UI tests to capture screenshots across every device and language automatically, then assembles them. You write snapfile configuration and UI test code that navigates to each screen, and fastlane runs the whole matrix. It is the standard for teams shipping many locales.
A shell script around xcrun simctl is the lighter option. Boot a device, apply the 9:41 status bar override, run xcrun simctl io booted screenshot for each screen, and loop over device UDIDs. This is enough for a solo dev who wants repeatable captures without the full UI-test investment.
Both produce raw screens. You still frame and caption them afterward.
Why screenshots matter: the conversion case
It is worth knowing why you are doing this carefully. Your first screenshots are the marketing copy most installers ever see, and the listing decision happens in seconds. Good, benefit-led screenshots are reported to lift conversion 20 to 30% versus plain ones. For the data behind that, see the App Store conversion benchmarks, and for the full pre-submission flow, the pre-launch checklist.
How we tested
The capture workflow (Cmd+S, save-to-Desktop, xcrun simctl io booted screenshot) and the status bar override command are verified against Apple's tooling and corroborated across multiple developer writeups (codewithandrea, jessesquires). The 9:41 status bar flags are the widely-used reference set. The size table follows Apple's current screenshot specifications, with the 6.9-inch master as the single required iPhone slot; confirm exact dimensions in App Store Connect before submitting, since they change between releases. ScreenFast is our own product, mentioned only at the framing step it actually serves, not the capture step, which the Simulator does for free.
FAQ
How many App Store screenshots should I upload?
Apple allows up to 10 per device per localization, with a minimum of 1. Most apps do well with 5 to 8 polished screens, with the strongest on the first frame.
Do I need separate screenshots for iPhone and iPad?
Yes if your app supports iPad. The iPhone 6.9-inch set does not cover iPad; you upload a separate 13-inch iPad set (2064x2752 or 2048x2732).
What happens if I only submit one screenshot size?
If you submit the 6.9-inch master, App Store Connect auto-scales it down to smaller iPhone classes, so one iPhone set is enough. iPad still needs its own set.
How do I get the clean 9:41 status bar in Simulator screenshots?
Run xcrun simctl status_bar booted override --time "9:41" --batteryState charged --batteryLevel 100 --wifiBars 3 --operatorName "" before capturing, and xcrun simctl status_bar booted clear to reset.
What format and dimensions should App Store screenshots be?
PNG or JPG, no transparency, under 10MB each, at an accepted device resolution. Capture at the 6.9-inch master (1320x2868 is the sharpest, native to the 16/17 Pro Max).
Can I use the same screenshots for Google Play and the App Store?
Not directly. The aspect ratios and size requirements differ, and Google Play allows promotional framing the App Store does not. Re-export per store.